Update van CUE Print 31082024

Guidelines Included when Saving a Layout Template
From CUE Print 3.32.0, when saving a page as a layout template in CUE Designer by means of the File menu > Save Page(s) as Layout Template menu option, guides created directly on the page are now included.
A page where two guidelines have been created directly on the page:
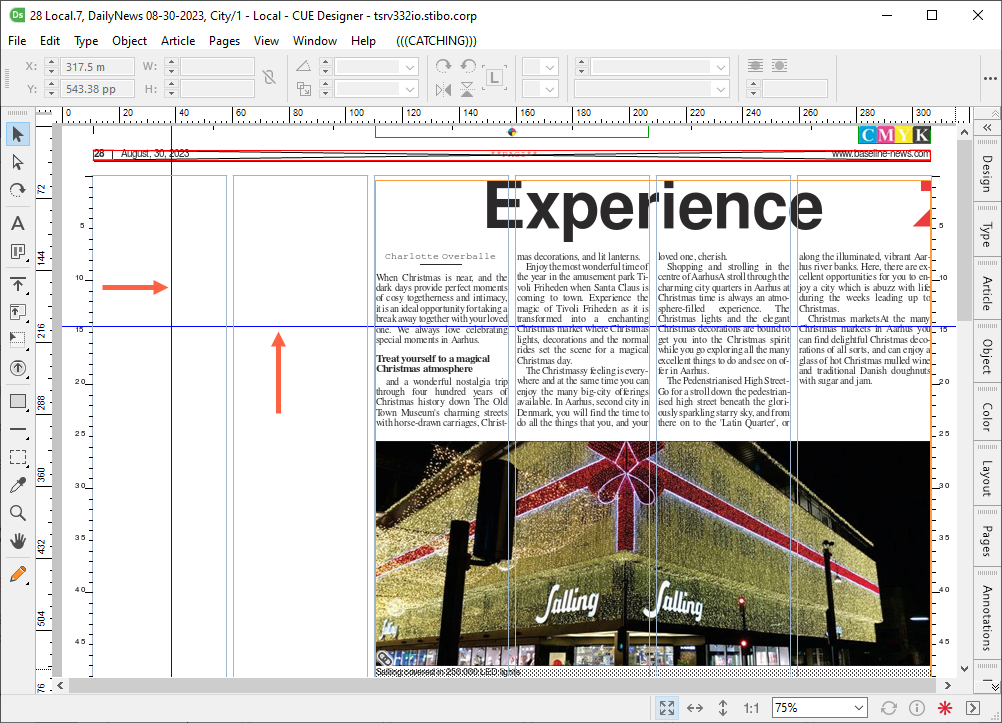
After saving the page as a layout template page, the guides are included on the template page:
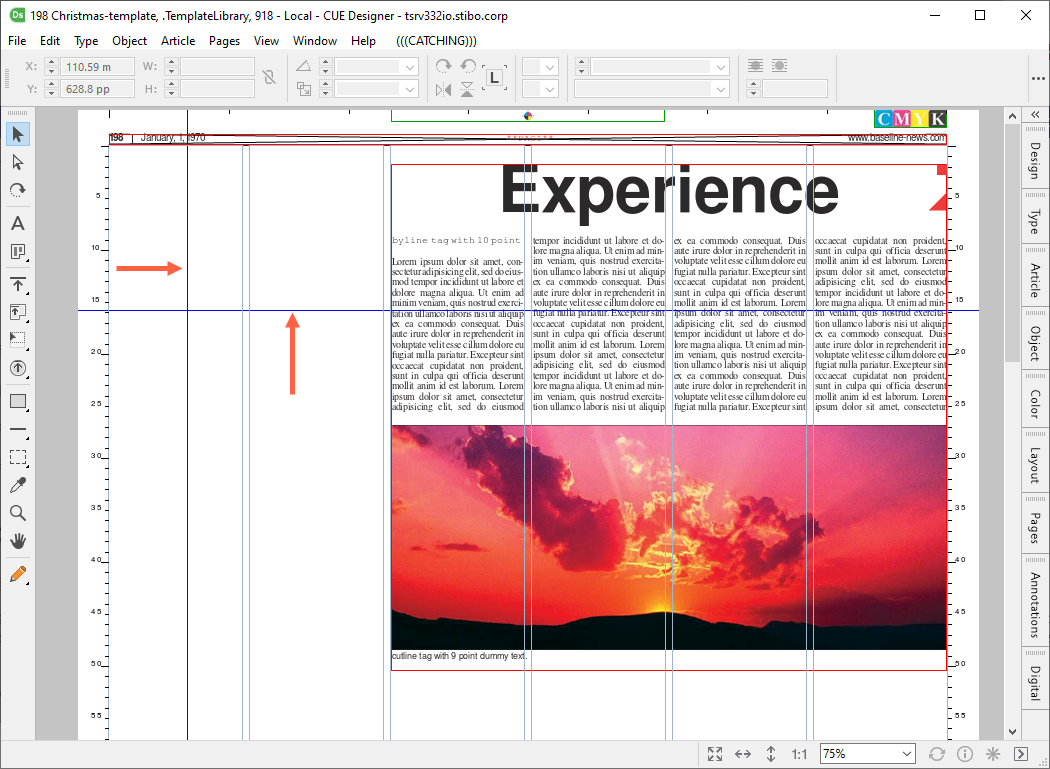
Image Priorities
From CUE Print version 3.33.0, a new possibility of setting a priority on images in a budgeted package, and on the images in a shape, has been introduced.
The Image priority is used to match the images from a package with the images found in the shapes in a more predictable way.
Two different image priorities have been introduced:
- Image content priority
- Image layout priority
The Image content priority is the priority of the images in the package.
The Image layout priority is the priority of the (dummy) images in the layout. This way it is possible to determine specifically which image content goes to which image in the layout.
The image priorities functionality is mainly used for when you assign a package with multiple images to a shape that has more than one dummy image. By setting a priority on the images in the package, it makes it possible for the system to make a unique match for each content image into each dummy image in the shape.
The image priorities are set as positive integers, e.g. 1 or 3 where the lowest value has the highest priority, i.e. image priority 1 has a higher priority than image priority 3.
If the priority is set to 0 or is unset, it has the lowest priority.
Setting the Image Content Priority
The image content priority can be set in the following ways:
- From a CMS system
- From a planning package list showing items
- From a page article list displaying items, see Setting the image content priority from a page article list displaying items
- From CUE Composer, see Setting the image content priority from CUE Composer
Please note that the Image content priority of an image in a package is always identical with the image content priority of the image in the article connected to the package.
This means that is does not matter whether the priority is viewed from a package list displaying items or from an article list displaying items.
https://support.stibodx.com/aurum/cue-print-release-notes/02-Features/30969-Image-Prio.html
Remove Assets from the Print Channel in CUE
In systems prior to the Aurum release, when a photo had been added to a print story, (e.g. by inheritance from the online storyline), it was not possible to remove the photo from the print package again.
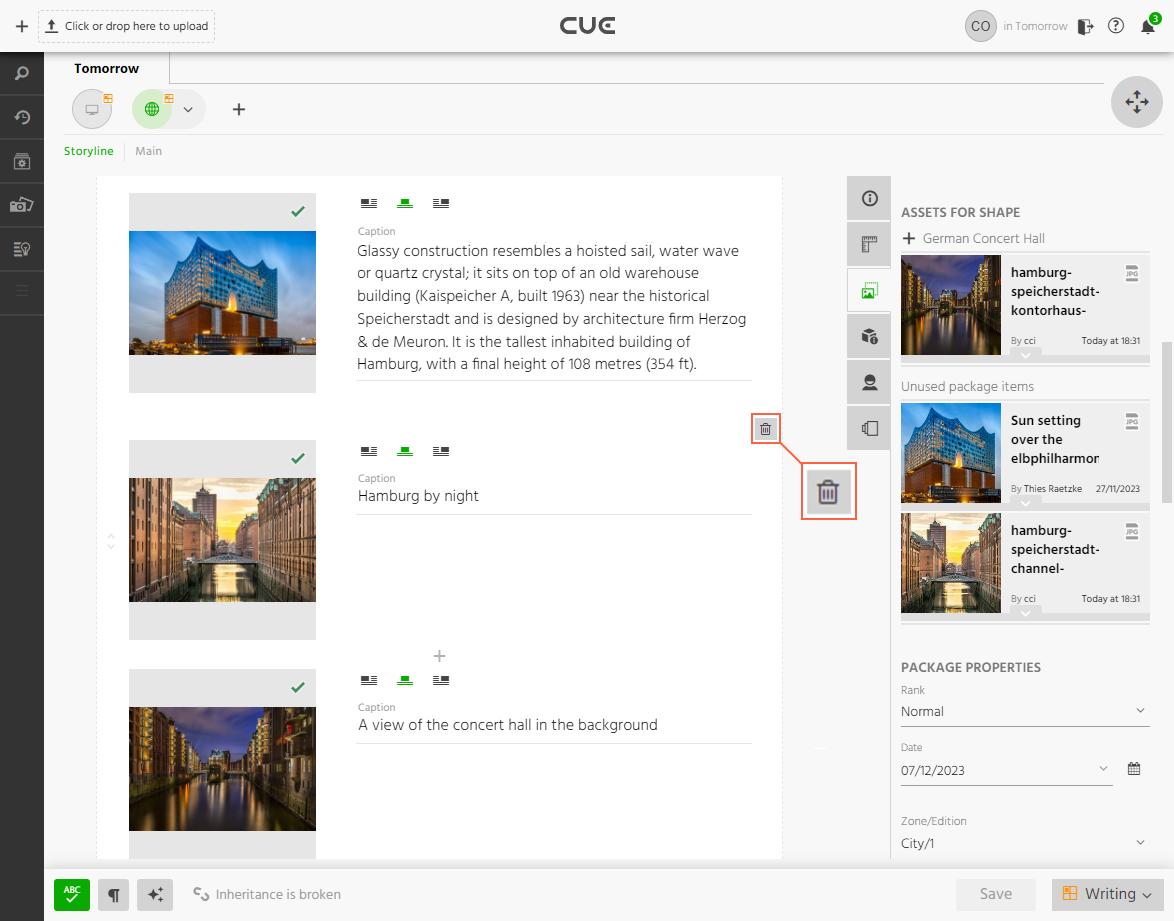
From the Aurum release, it is now possible to remove an asset from the text in a print storyline text by clicking the ![]() icon for the asset.
icon for the asset.
Previewing Captions in Print Storylines in CUE
In systems prior to the CUE Print 3.33.0 release, when making changes to a caption text in an image storyline element i CUE, the print storyline had to be saved before the caption changes were reflected in the metadata panel preview and in the standalone live preview.
From version 3.33.0, the preview of a print storyline in CUE is now updated dynamically with the changed caption text as you enter the text in the image story element, i.e. you do not have to save the storyline to see the changes.
Creating a Zone-specific Print Variant in CUE
In versions prior to the Aurum release, it was only possible to have one zone on the Print variant visible CUE.
This meant that if you wanted to make a content change to the article in another zone from the CUE editor, you had to create a new Print variant and assign that variant to the article in this zone.
But, when aligned with CUE Print, a new story folder and package was created for the zone in question in CUE Print.
To improve the workflow when working with multiple zones in the CUE storyline editor, it is from, the Aurum release, now possible to create a zone-specific print variants of a storyline in CUE from within CUE Flatplanner or CUE Designer
The prerequisite for creating a zone-specific variant in CUE is an existing page plan with multiple zones in CUE Print, where a print variant of a storyline is placed on a page that is sourced to one or more zones in CUE Print.
A new zone-specific print variant is created in CUE, the first time a Designer working on a page in an inheriting zone in CUE Designer or CUE Flatplanner (Layout mode) applies the Open with CUE context menu option on an article placed on the page.
This will trigger the creation of a zone-specific variant in CUE.
When created, the new zone-specific print variant will inherit its contents from the original print variant, which is now the base for the new zone-specific print variant.
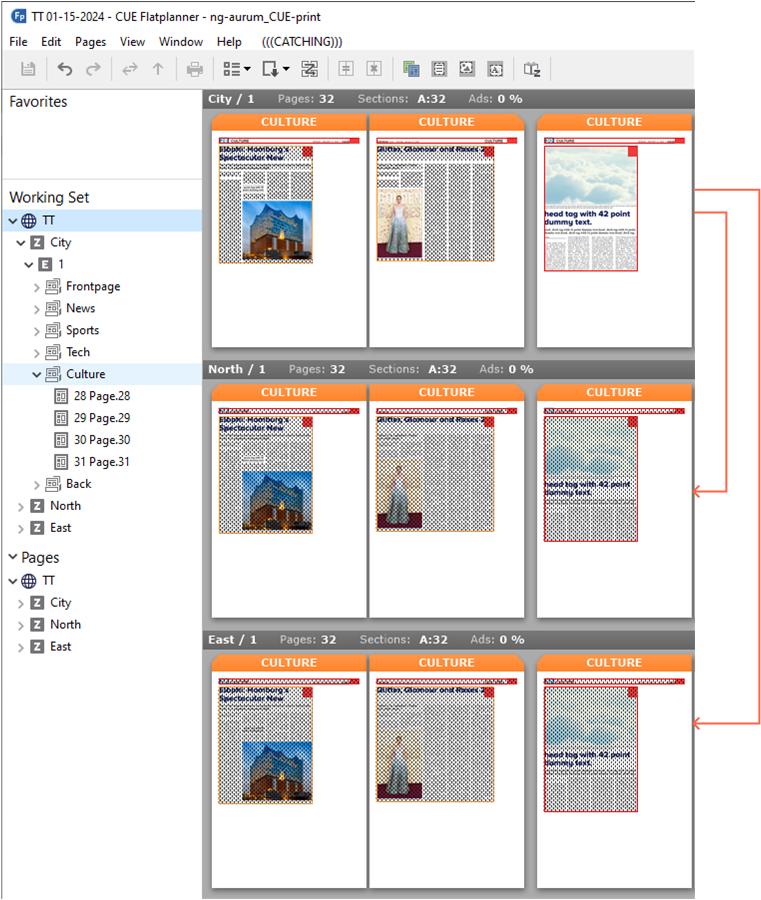
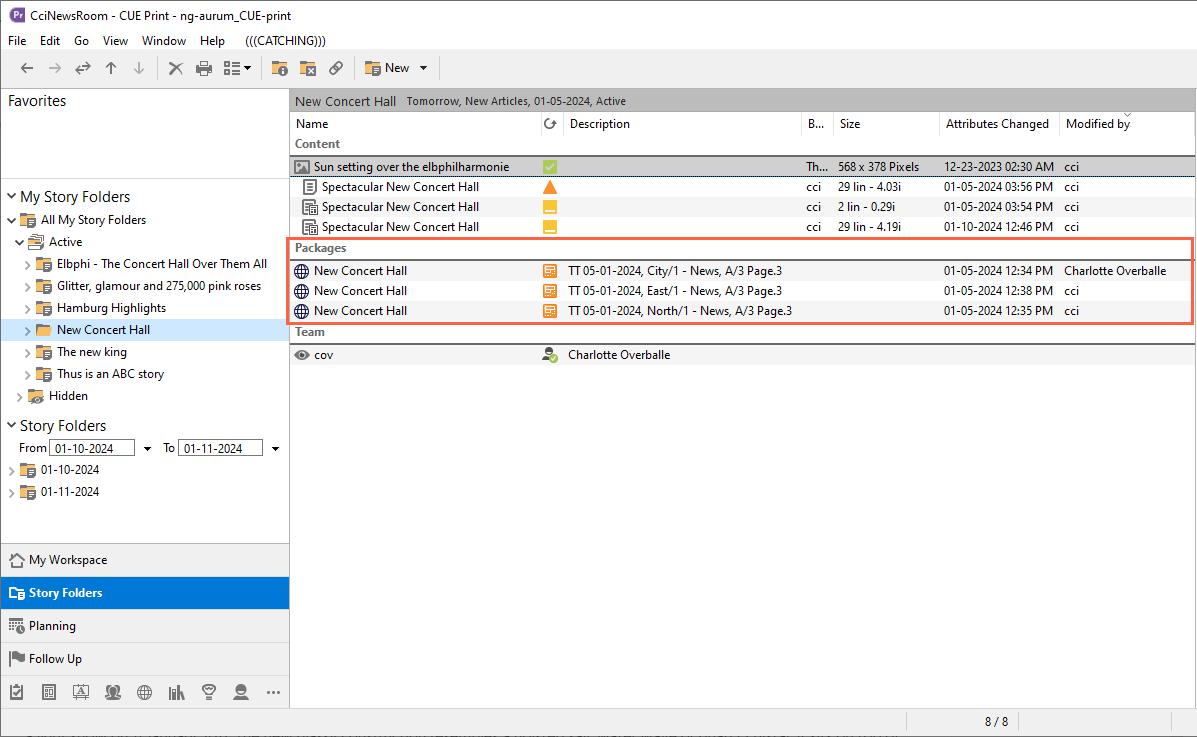
Furtermore, when zone-specific print variants have been created in CUE, the corresponding packages in CUE Print will, from the Aurum release be placed in the same story folder as the original print variant:
Reapplying the “Open with CUE” context menu option
If you re-apply the Open with CUE context menu option on the article in either CUE Designer or CUE Flatplanner, the North/1 zone variant will be opened in CUE as if it was a normal article, i.e. reopening the story in CUE will not create a new variant.
New “Contents – Max Lines” Auto Fit Option
From CUE Print version 3.34.0, a new Contents – Max Lines auto fit option has been introduced.
The Contents – Max Lines option allows a text element to grow to a maximum number of lines defining the element size, but enable the element to fit to content in case the material is smaller than the maximum lines set for the bounding box.
This option is used to provide flexible shapes, where e.g. captions, headlines, deck heads and quotes are allowed to auto fit to content, but within a limited number of lines.
The use of this option can limit the number of shapes needed in your system, just as it can reduce the time doing the final trimming of the pages.
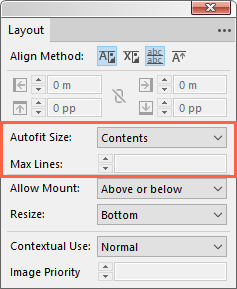
The option is applied to a text element from the Layout palette where it as part of the Autofit Size option drop-down list.
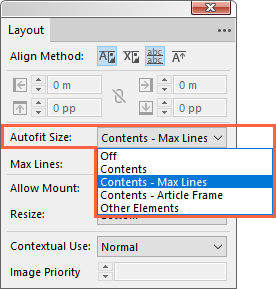
It can also be selected from the Edit bar:

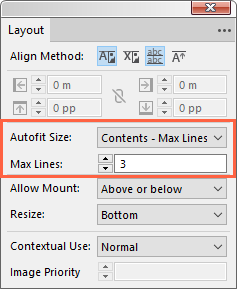
The Contents – Max Lines option only works if you specify the maximum number of lines in the Max Line entry below the Autofit Size option. The field is only editable, if you have selected the Contents – Max Lines auto fit option:
If another Autofit Size option is selected, the Max Line cannot be set:
Example
The Head element in the article below has the Autofit Size option set to Contents – Max Lines with 3 lines as Max Lines

Now the Designer enters more text into the headline. This will result in an overflow, as the Max Lines setting restricts the element size to 3 lines:
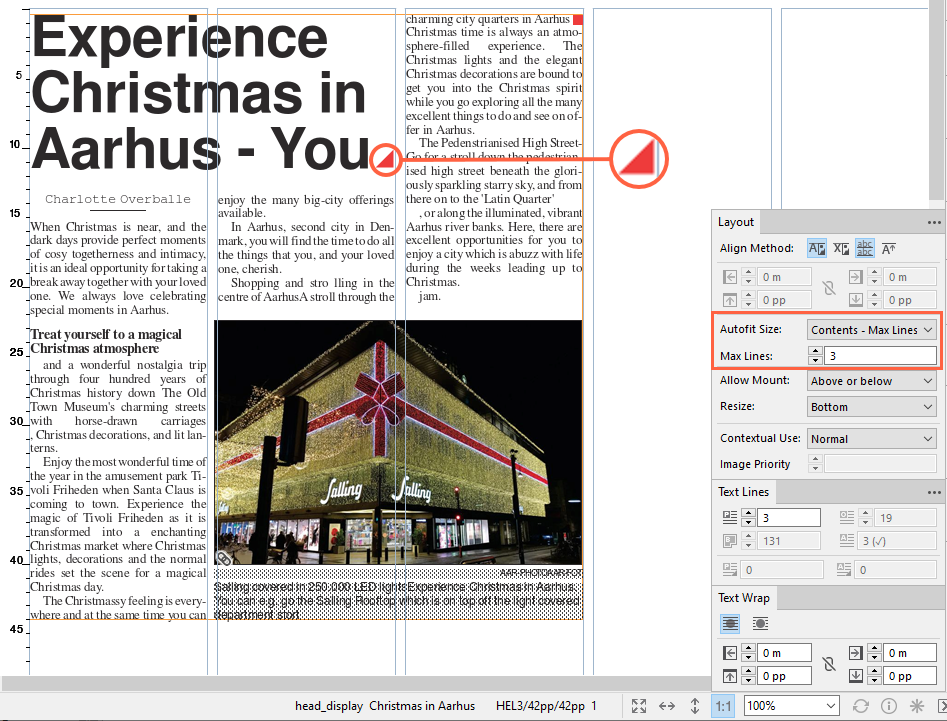
The Designer then decides to change the width of the headline to 3 columns and trim the text a bit. This will make the element will fit to content:

Treating Non-prioritized Images a Mandatory or Optional
The Aurum release, introduced an Image Priority functionality, which was a new possibility of setting a priority on images in a budgeted package. The image priority was used to match the images from a package with the images found in the shapes in a more predictable way.
For details, see Image Priorities in Aurum
If an image had no priority set (non-prioritized), it would have the lowest priority, but it would still be ranked over the optional images as a mandatory image.
This behavior can cause a problem though, as there may be a variation in how customers want non-prioritized images to behave.
As an example, one customer may only assign an image to a package if the image is considered mandatory, and at the same time the user do not want to spend time setting the image priority. Therefore, this customer wants to treat non-prioritized images as mandatory.
Whereas a second customer may have a workflow where a lot of images are assigned to a package as optional, and then the users only set the priority on the images that are to be used. Therefore, this customer wants to treat non-prioritized images as optional
To accommodate both ways of working, it is now, from CUE Print version 3.34.0, possible to configure whether a non-priotitized image should be mandatory but with the lowest priority (Aurum functionality), or if it should be treated as an optional image.
The configuration is made in the ImageProperties> tag on either product level or newsroom level in the Product Setup or NewsRoom Setup configuration objects in the Setup workspace, where a new <Non-proiritized images are optional> parameter has been added to the <ImageProperties> tag.

The parameter can hold one of two values:
| Value | Description | Default |
|---|---|---|
| false | Non-prioritized images are treated as mandatory, but with the lowest priority | X |
| true | Non-prioritized images are treated as optional |
Bugfixes:
Uit de Deltalist met bug fixes:
| 294101 | 02Aug24 11:06 | many prompts due to text formatting conversion in float fld | CCIET-33634 Bug (Closed) Fx-CUEPrint3.36.0.1i CUEPrint3.34.0.2m TMGNG-1395 Bug (Development Done) Av-CUEPrint3.31.0.3r |
Scenario: Given: -Mounted element “Fit to content” using text formatting conversion -The Text formatting conversion is mayor in the way that it changes the size of the element -The page and elements are lock-released Steps: -Create a new version of the text -Open the page in Designer (Float changes are made FloatChangeFld() and delay locks are created DelayedLockCreate()) -Try to unlock the page in Designer BEFORE this delta Many promps about lock problems (Because of delay lock) |
CCIET-33634 (By: cuedevdispatcher) 60 error messages after unlock |